
Flexibility is the key to feeling strong, agile and energized at any age. As we age, maintaining a regular stretching routine becomes even more essential to improve flexibility, support joint health, prevent stiffness, and reduce the risk of injury.
Whether you’re in your 40s, 60s or beyond, incorporating stretching into your daily routine can make a difference in the way you move and feel.
You’ll enjoy health benefits far beyond better flexibility, including:
- Improves your performance in physical activities and daily tasks
- It reduces the risk of injury
- Helps relieve and prevent upper and lower back pain
- Improves body posture
- Gives a more youthful look (think blending or slouching!)
Below I give you 10 effective flexibility stretches that anyone can do to improve flexibility, regardless of experience or age.
Each stretch is designed to improve flexibility in a gentle but effective way, so you can do it at your own pace and reap the benefits over time. Are you ready to relax?
Stretch Flexibility Routine Instructions
- Try each of the following stretches, hold for about 30 each, then take a deep breath and repeat. (Perform on each side if unilateral).
- Make sure to breathe slowly and relax as much as possible. Do not stretch to the point of pain.
The standing side bend stretches the obliques, laterals and intercostal muscles along the sides of your torso and improves flexibility in your entire side body. This stretch also encourages better posture by opening the spine and helps release tension from your lower back.
For even more help in standing taller, try these posture exercises!
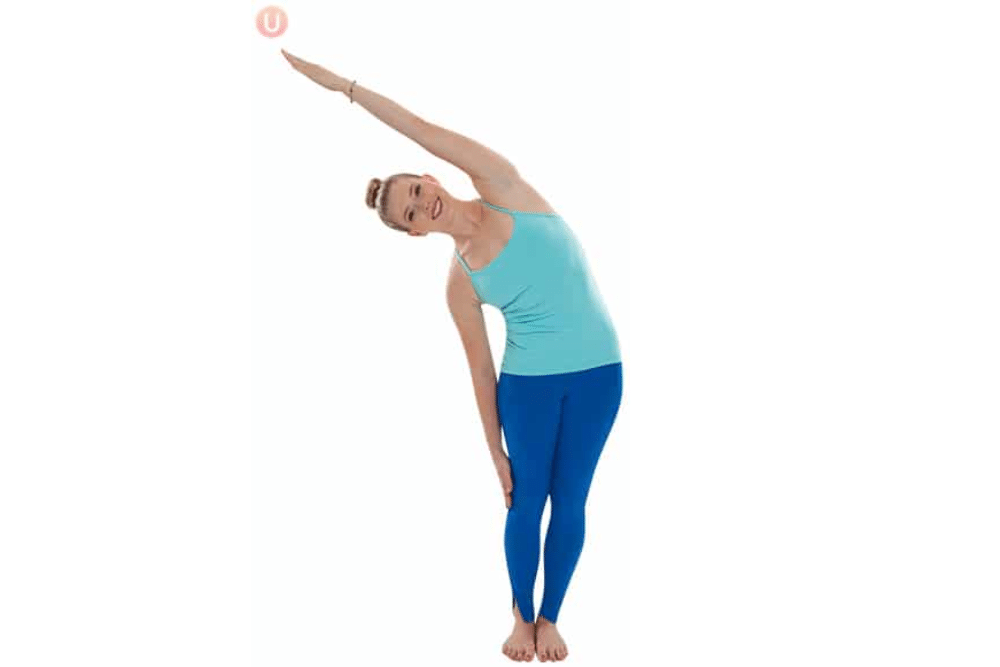
How to perform a standing side bend
- Stand tall with legs and feet together and reach both arms straight above your head as you inhale.
- Lower your right arm down to the right side of your body and exhale as you extend the left arm overhead, bending the body gently to the right.
- Inhale to return the arms overhead to center and exhale as you repeat on the left side.
This deep hamstring and calf stretch lengthens the muscles in the back of your legs, promoting greater flexibility and mobility in your hips and hamstrings. Pyramid pose also stretches the lower back and helps improve balance and stability.
I also recommend adding these balance exercises for seniors to your weekly routine!
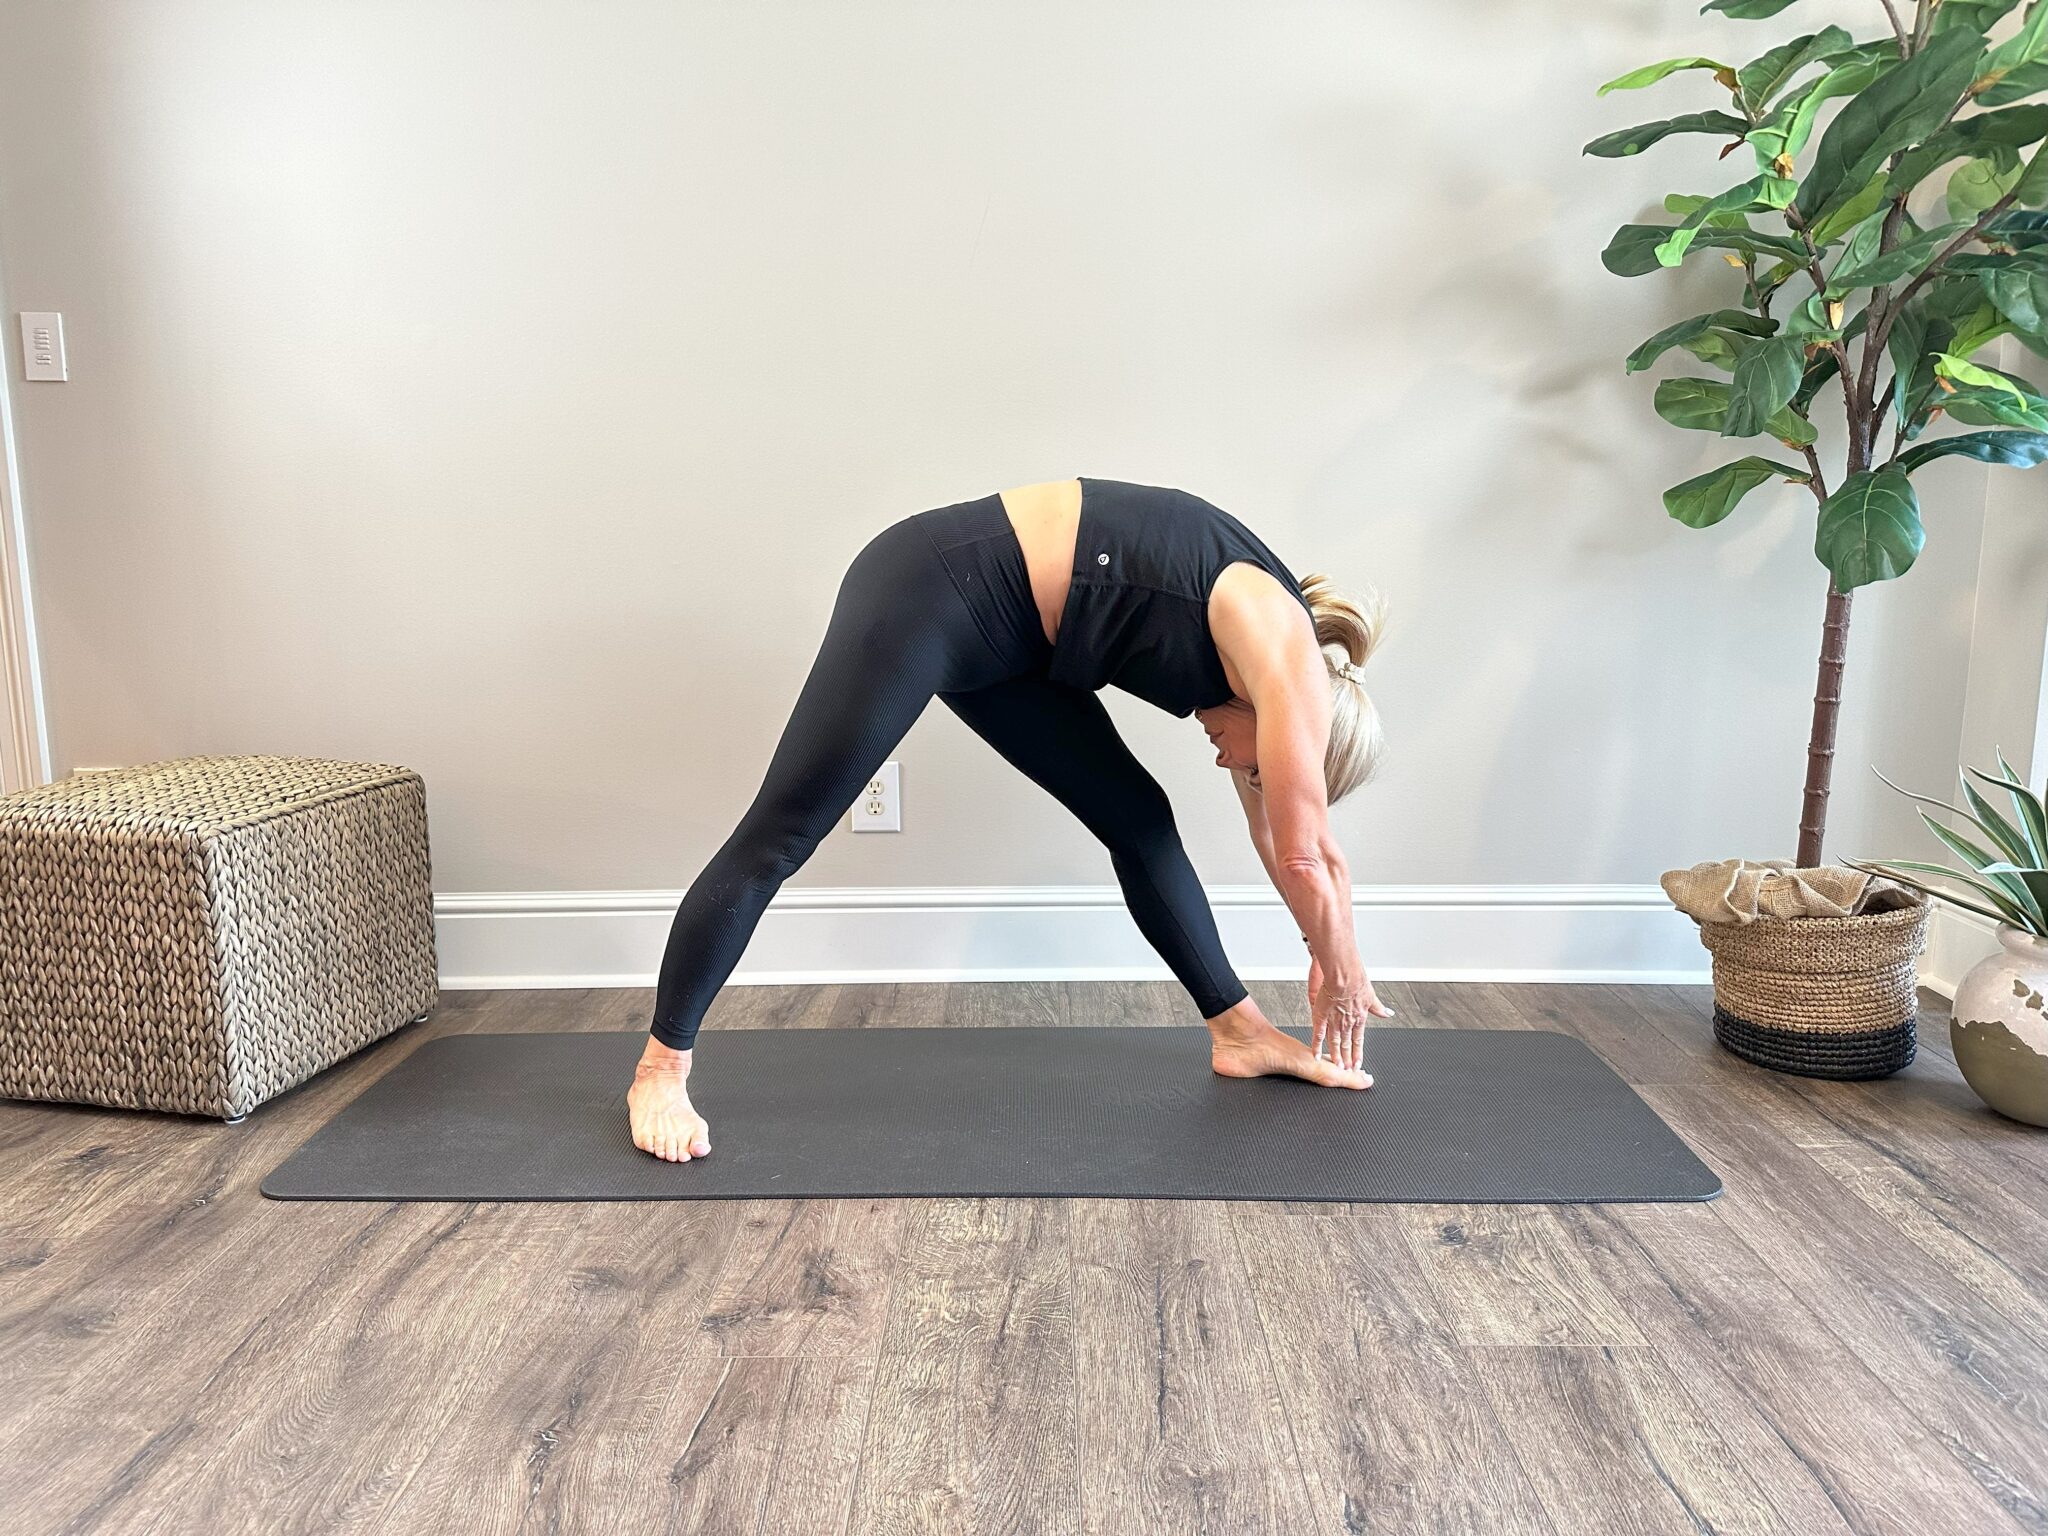
How to perform the pyramid pose
- From a standing position, step the inside of your left foot directly behind your right foot about 6-8 inches, as if you were standing on a balance beam. The back leg is angled.
- As you inhale, reach both arms up, lengthening your spine.
- As you exhale, slowly touch the hands down to the shin or, if you can, to the floor. You can bend the front knee slightly if needed.
- Let your chest rest over your front leg and relax the back of your neck. Breathe slowly as you stretch your hamstrings.
- Hold for 30 seconds and switch sides.
The yogi squat opens the hips, inner thighs and groin, helping to increase hip flexibility, which is essential for a full range of motion in everyday movements. This stretch also improves lower body strength and stability.
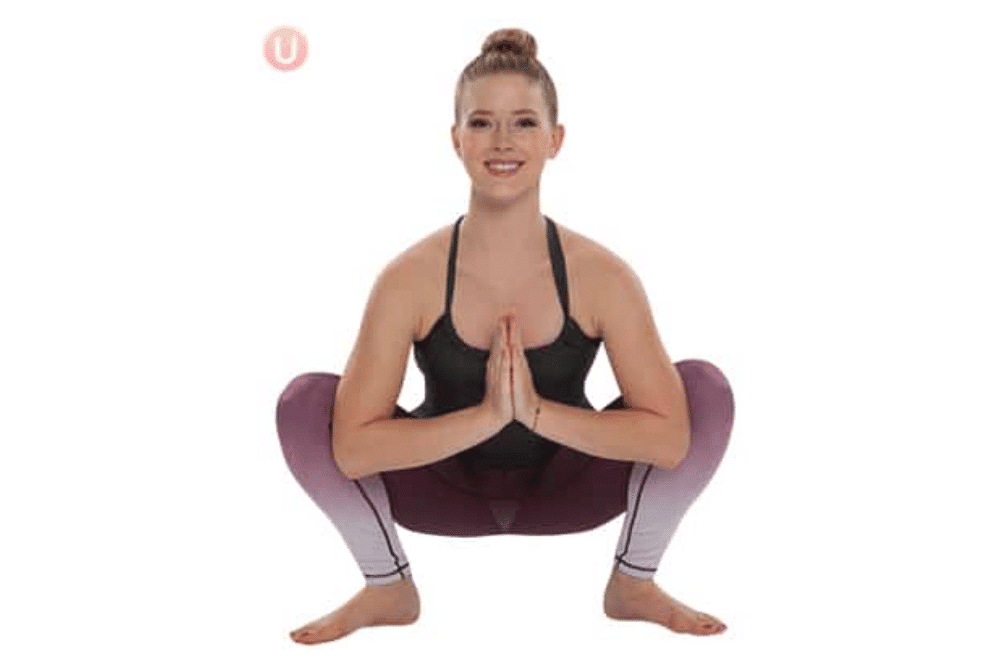
How to Perform a Yogi Squat
- Start with your feet slightly shoulder-width apart and your toes apart.
- Bend your knees and use your leg muscles to slowly lower your hips to the floor. Go as deep as you can while keeping your heels on the floor.
- Elbows pressing on knees and knees hugging elbows upper and lower body remain active.
- Straighten legs to return to standing position.
A basic yoga pose, downward dog stretches the hamstrings, calves and shoulders while lengthening and decompressing the spine. This pose supports overall flexibility, particularly in the back and legs, and can help reduce tension throughout the body.
For even more leg relief, check out my favorite leg stretches for tight muscles!
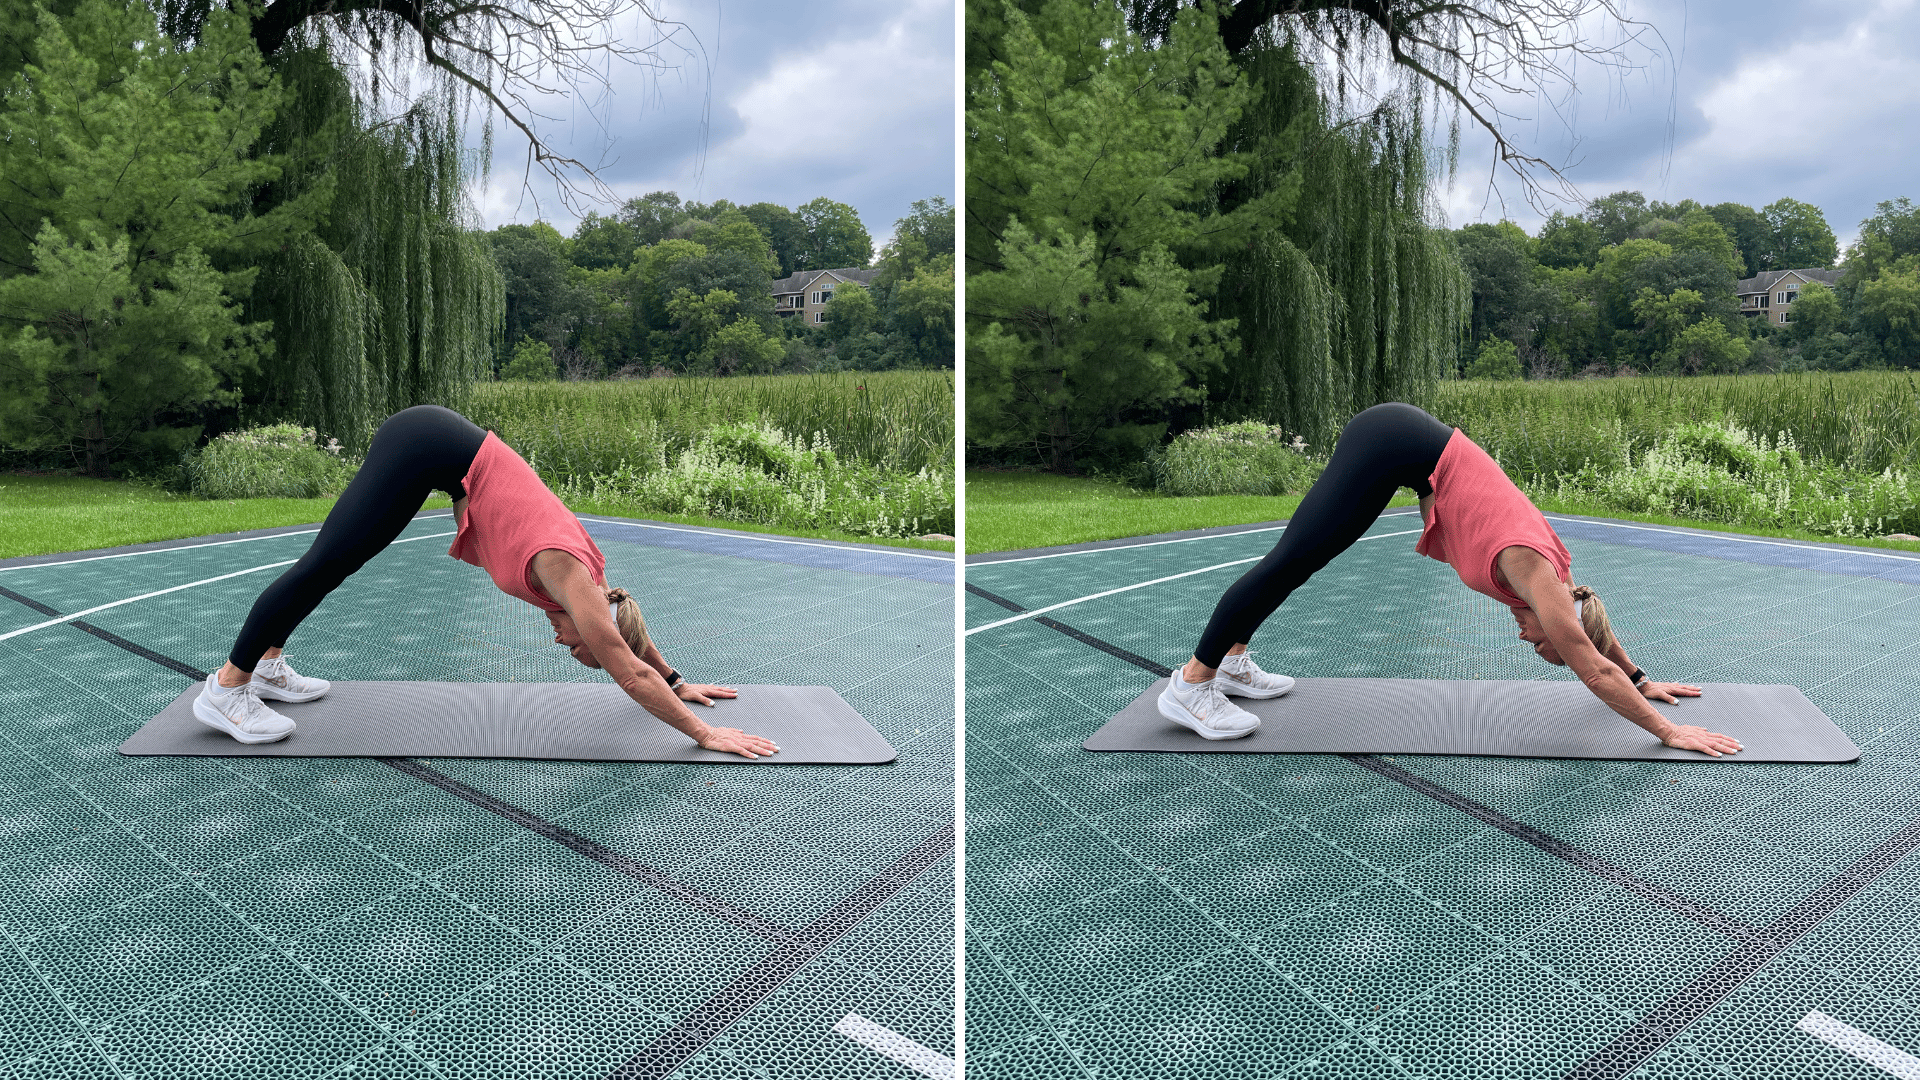
How to perform Downward Dog
- Start in a kneeling position on your mat with your hands directly under your shoulders, fingers spread.
- Place your toes down and engage your abs as you push your body up off the mat so that only your hands and feet are on the mat.
- Push through your hands moving your chest gently toward your thighs and your heels gently toward the floor.
- Relax your head and neck and breathe fully.
This gentle spinal stretch increases flexibility in the back, releasing tension from the spine and helping to mobilize each vertebra. It’s a great warm-up pose to improve overall spinal flexibility.
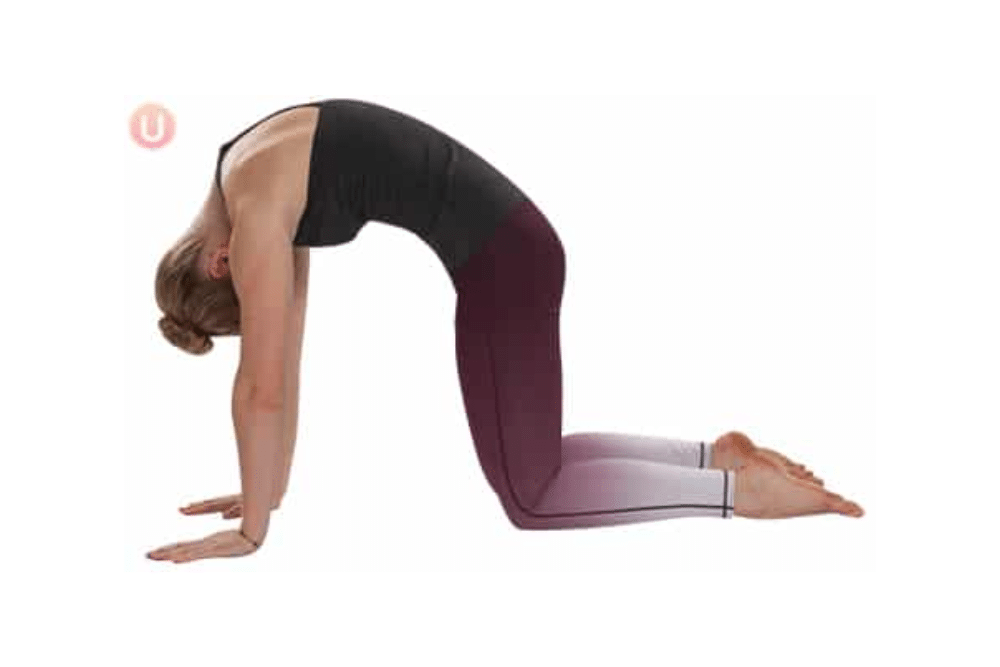
How to perform the cat pose
- Start on your hands and knees with hands directly below shoulders and knees directly below hips.
- Start with your spine in a “neutral” or long position, then slowly curl your tailbone and lower the top of your head so your back gently rounds.
- Pull your glutes up to your spine and breathe gently as you hold the stretch.
Combined with cat pose, cow pose enhances flexibility in the back and neck. It also stretches the chest and helps improve posture by counteracting the forward rounding of the shoulders.
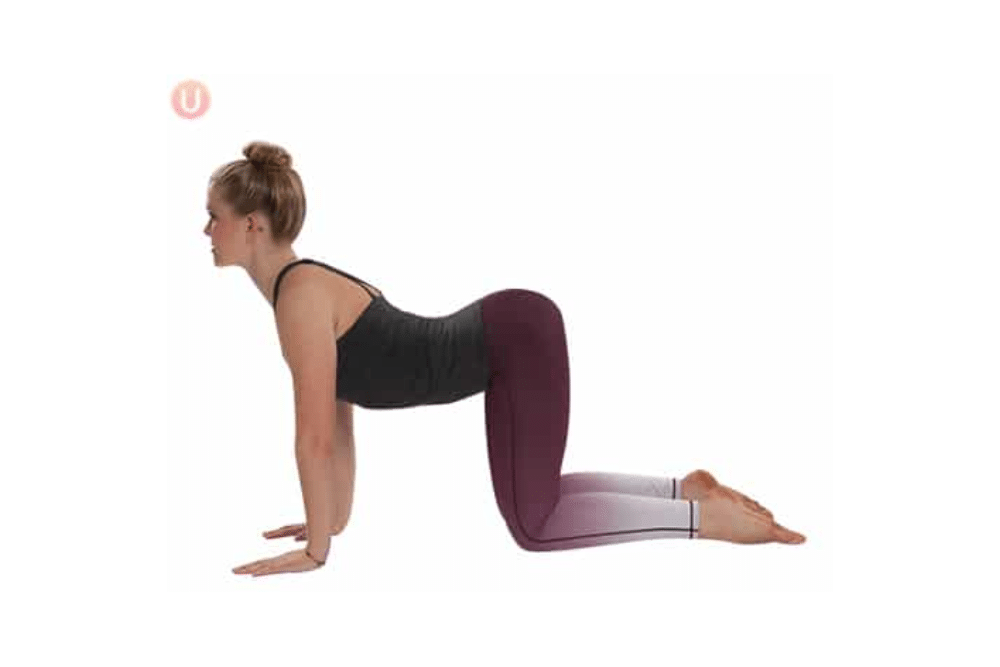
How to perform cow pose
- Start on your hands and knees with hands directly below shoulders and knees directly below hips.
- Start with your spine in a “neutral” or long position, then gently lift your heart and tailbone so your back gently curves down. Make sure you focus on the lift – don’t press your back down. Let the curve happen naturally.
- Look up slightly with a relaxed neck and breathe gently.
This deep lunge stretches the hip flexors, quadriceps and hamstrings, promoting hip flexibility and range of motion. It is especially beneficial for those who sit for long periods, helping to open tight hips.
If hips are your problem area, you may also benefit from these resources!
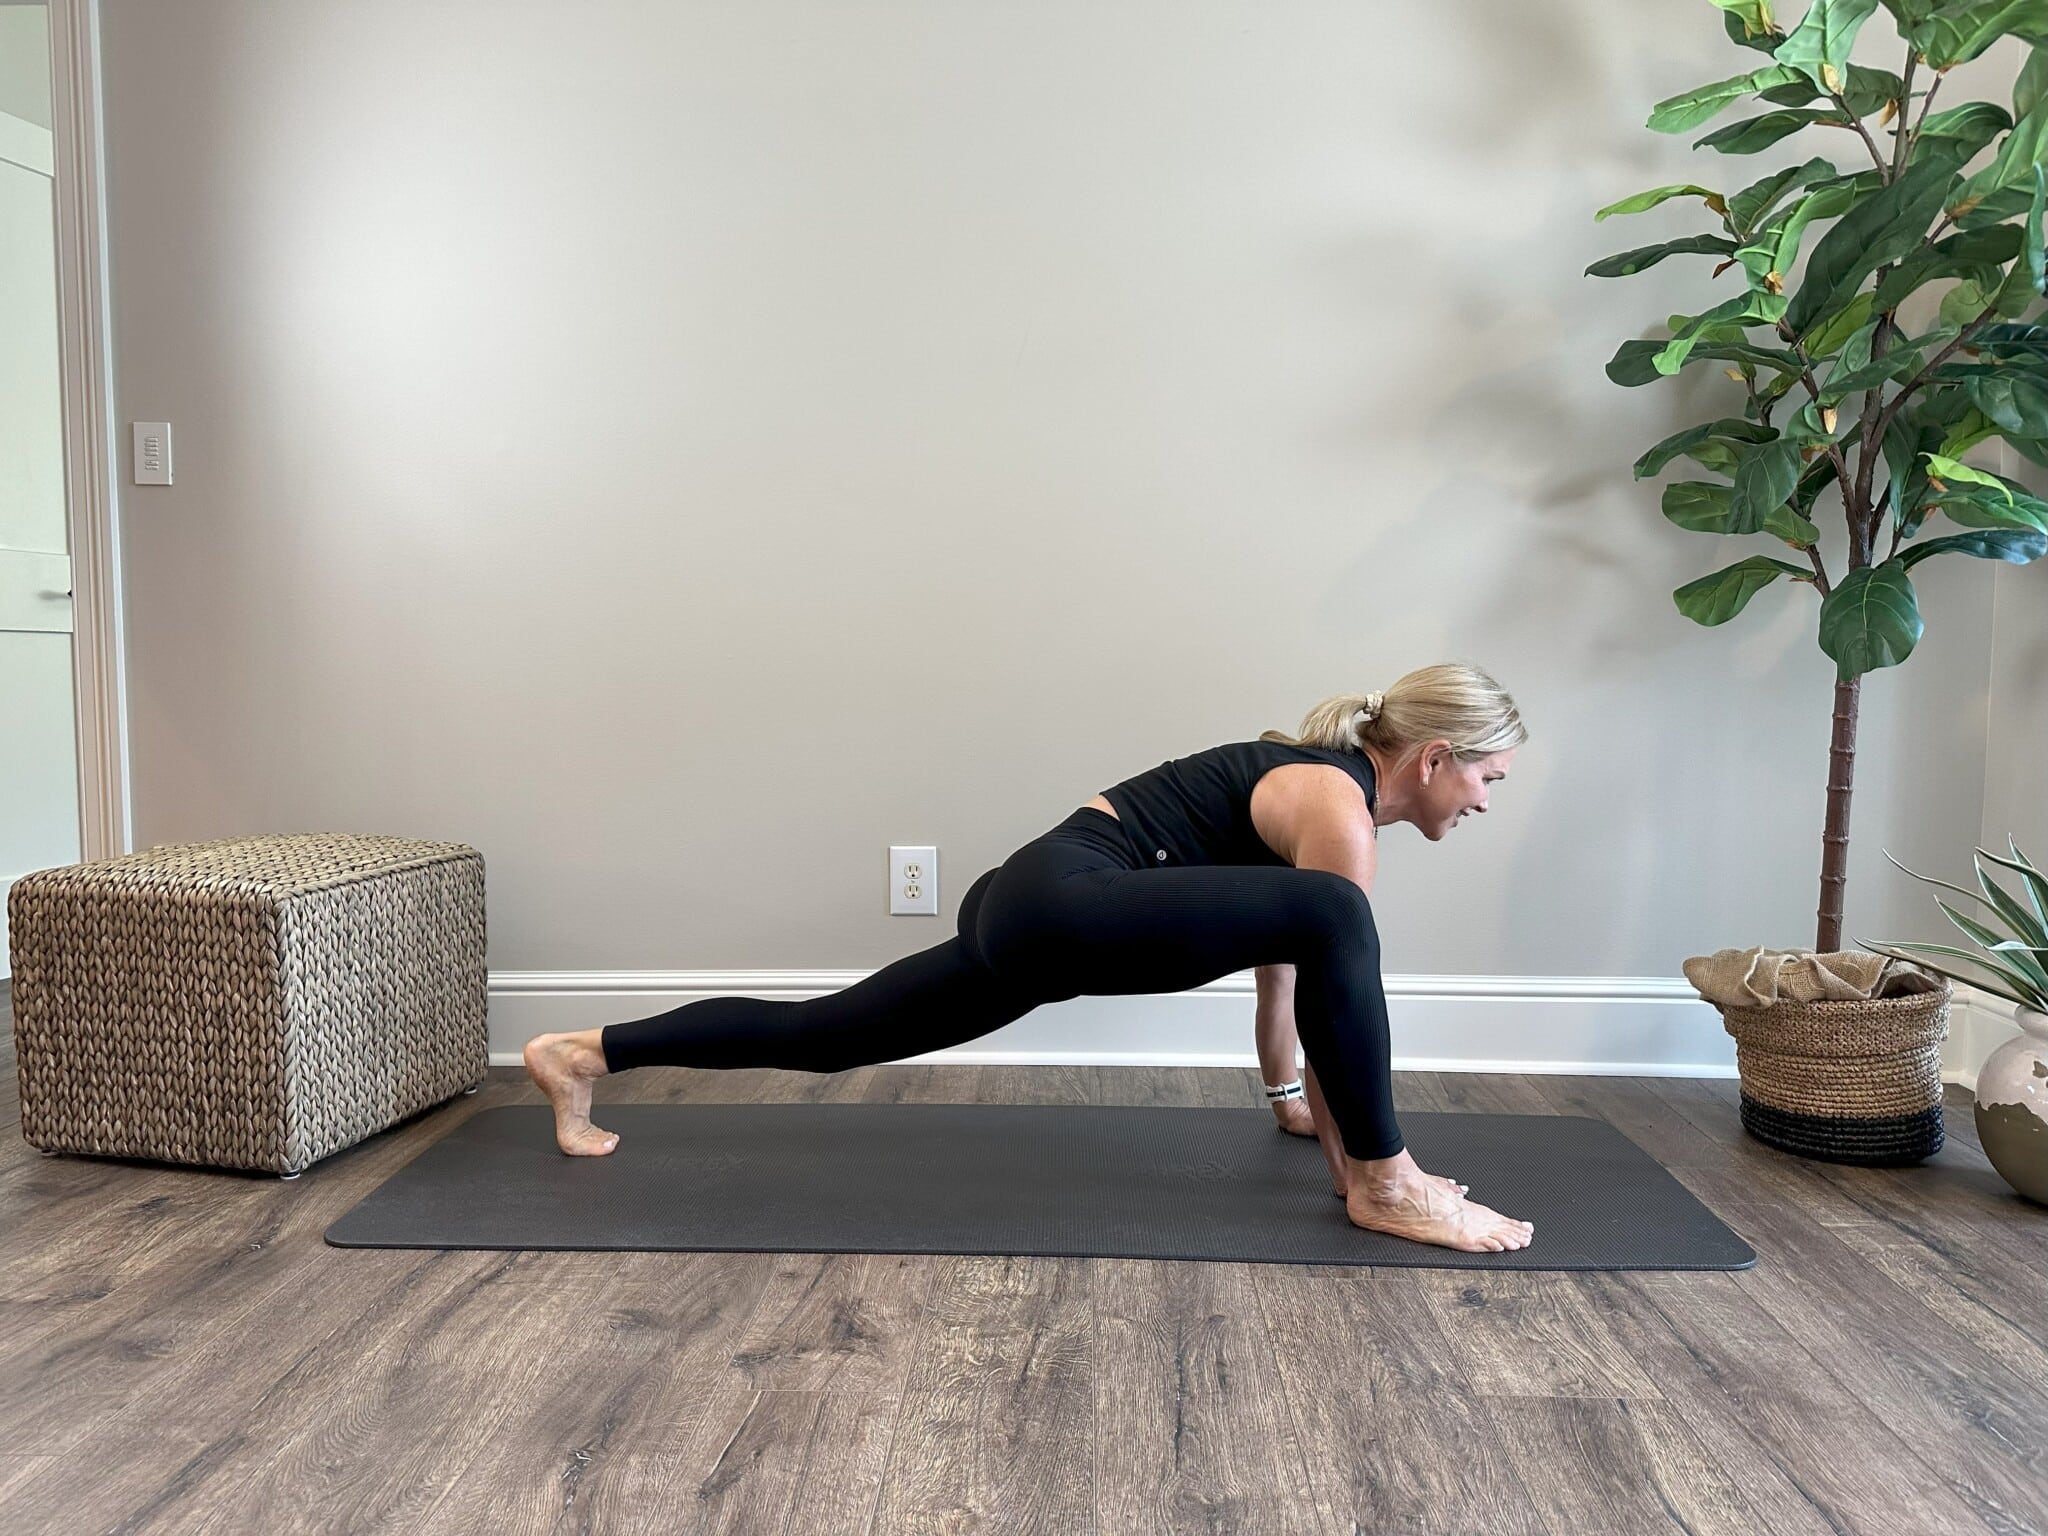
How to perform a Runner’s Lunge
- Start in a plank position with your hands directly under your shoulders.
- Step your right foot forward to the outside edge of your mat next to your right pinky toe.
- Relax your hips and back, letting them sink toward the ground.
- Breathe and hold for 30 seconds. Switch sides.
One of the best hip openers, pigeon pose stretches the glutes and deep hip rotators. It also improves flexibility in the hips, which can relieve lower back pain and help with activities that require hip mobility.
If the back is your problem area, you can also try these back pain exercises!
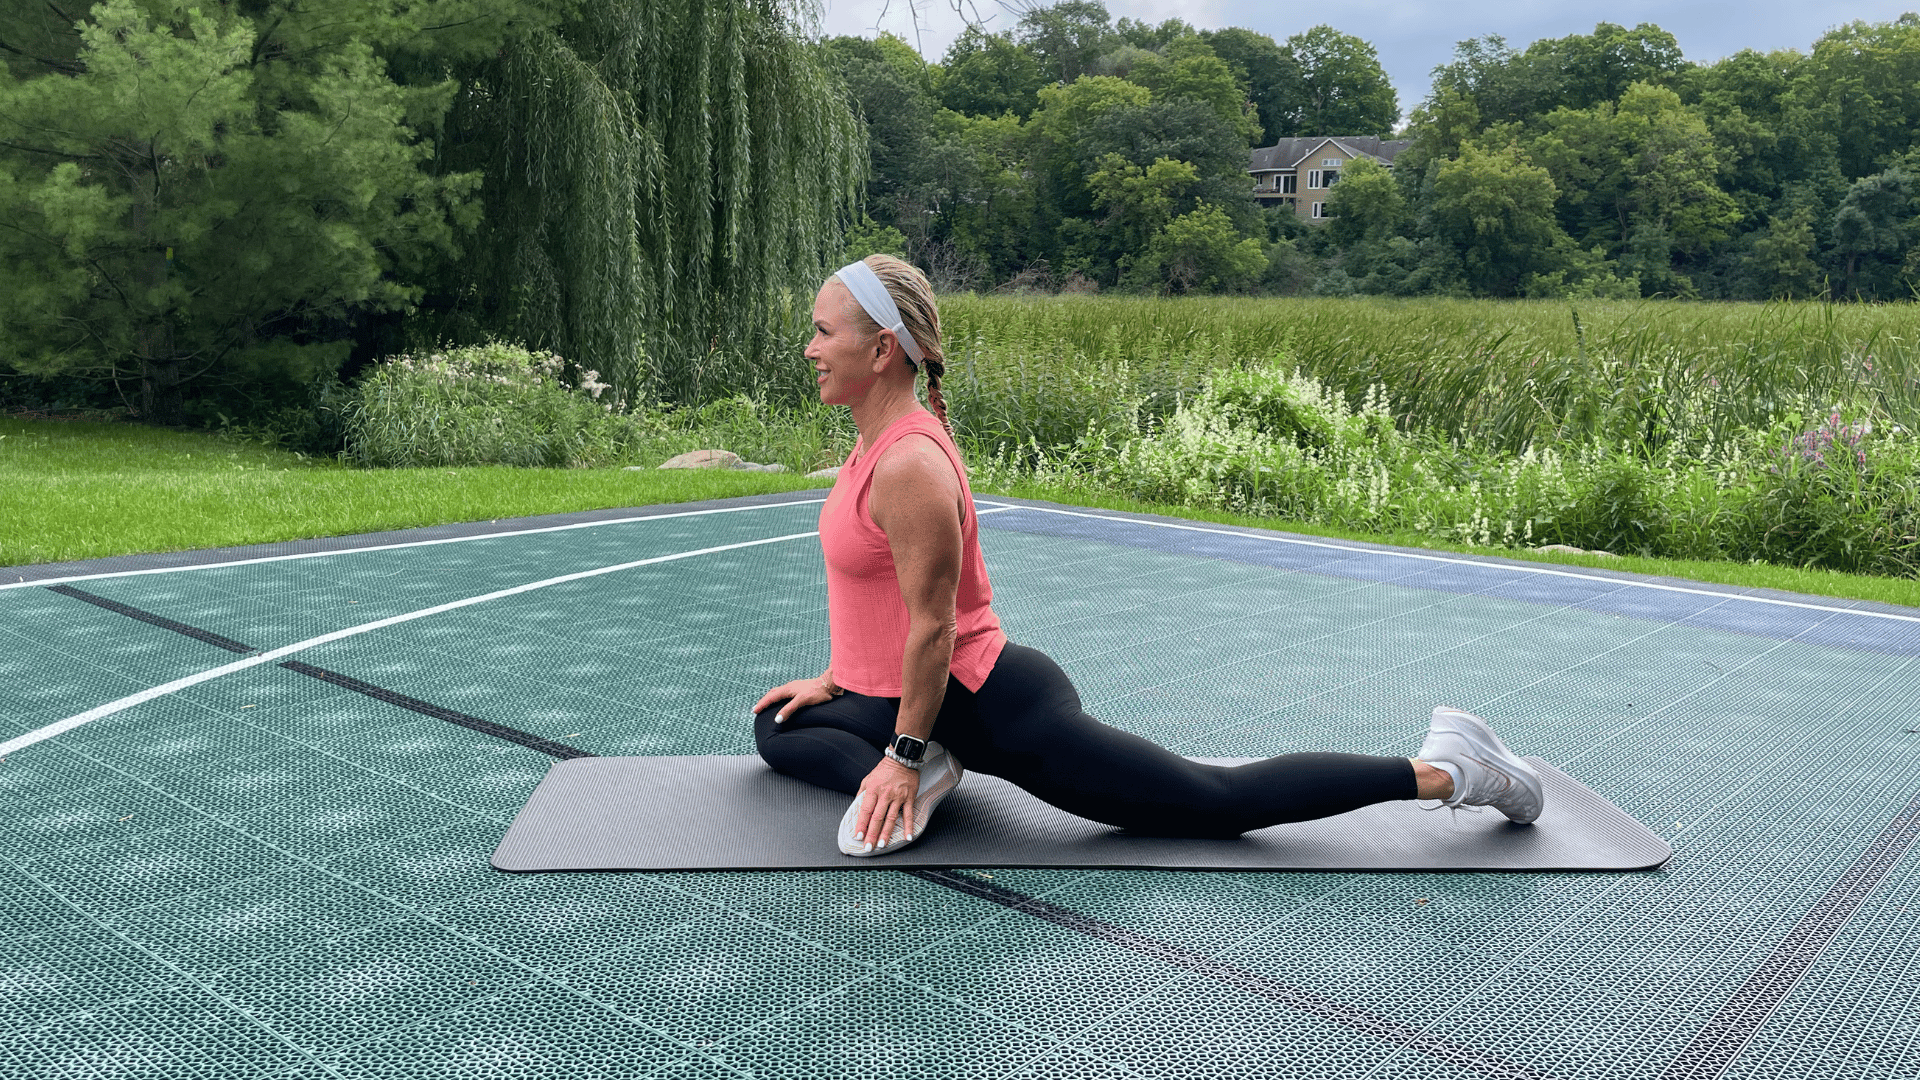
How to perform Pigeon Pose
- Start in a plank position. Tighten your abs and pull your right knee toward your right hand, placing your right foot as close to your left hand as you can.
- Keep your back leg long and hold your hips even as you relax your weight into the middle of your hips.
- Breathe and hold for 30 seconds. Get back on the plank and switch sides.
This table pose stretches the shoulders, chest and hip flexors, counteracting the forward rounding of the shoulders and promoting a strong, open posture. It also improves flexibility through the upper body and strengthens the glutes and back.
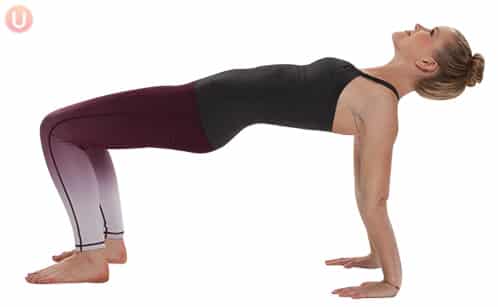
How to do table pose
- Start in a seated position with your feet flat on the floor in line with your sitting bones.
- Place palms flat on the floor behind your back with fingers facing in.
- Look up and as you squeeze your abs and glutes, lift your body up while gently letting your head relax.
- Breathe and hold for 30 seconds.
This relaxing stretch gently opens the hips, inner thighs and lower back, promoting greater range of motion in the hips. The happy baby pose also helps release tension in the lower back, making it a perfect end to any stretching routine.
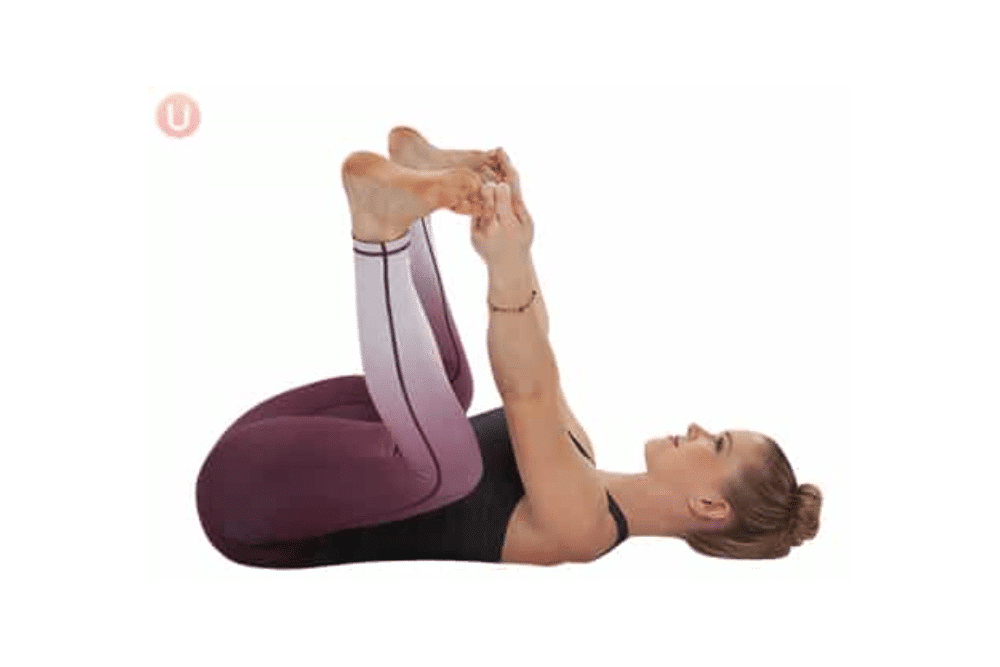
How to do Happy Baby Pose
- Start lying on your back and grasp your big toes with your index and middle fingers.
- Gently pull the toes down to pull the knee toward the shoulders. Keep the elbows open by gently pressing the knees.
- Relax and breathe. Hold for 30 seconds.